Showing posts with label soil. Show all posts

Tuesday, October 2, 2018

Back in the garden! And a little more house...

What an amazing year we have had so far.  We finished the last of the tile in the storage hallway and we got some more outlets operational in the dining room and kitchen.  Then it was time for a break from the house, so we shifted gears to the garden!

Beginning in the spring, we started prepping garden beds.  First, we had to dig all the weeds out of them.  That was a job!  We also moved our asparagus patch from the bed along the hoop house into 3 garden beds in the main garden.  In the process of dividing up the original 12 or so asparagus plants, we ended up with 80 separate crowns!  That filled up our 3 beds and we gave some away.  I love self-reproducing perennials.

 second load of asparagus crowns

We decided to build sides for the beds this year out of some of the live cut boards we weren't using for the house.  We also dug hugel trenches along each bed.  The trenches got filled with old logs and wood chips up to the level of the aisles.  The idea is that the wood will soak up water when it rains and then release it to the garden bed during the dry periods.  I have to say that the strategy worked.  Even though we had drought weather for an extended period this summer, we only watered the garden 3 times and it was still one of the most productive years we've had for the limited crops we planted.


I have to say that it felt absolutely amazing to be back in the garden again.  The smell and feel of dirt, little seeds tucked in and then growing into plants taller than I am, the joy of the first ripe tomato...these are the things that brought us to the farm to begin with.  It is wonderful to be back at it again.

In addition to the usual annuals, we also bought and heeled in 50 root stocks for pears, plums and cherries.  We hope to graft off of our existing fruit trees to these root stocks to increase the orchard.

We set up the chicken coop this spring also and stocked it with 10 laying hens.  We lost some in the summer heat and had to replace them, but overall the girls are keeping us in plenty of eggs.  It is wonderful to have farm fresh eggs again!

The garden harvest was very rewarding.  We didn't plant as much variety as we normally would, but we still canned over a hundred quarts of tomatoes, green beans and soup.  It was another return to normal to get the canners out.  It was also an awesome opportunity to really test out our 6 burner propane stove!  It was an investment, but so worth it to be able to put 2 canners and a large pot of tomatoes on the stove at the same time!
Corn and melons thriving in the garden


harvest waiting for canning

New stove ready to go!

Along the way, we did finish the beetle kill pine wall boards in the living room and dining room.  We still have to wrap up the upstairs landing with them, but we got to check 2 more walls off the list as finished.  I think it turned out really well!

Living room pine wall

We also hired out the building of the kitchen cabinets.  They were delivered and installed last week and they turned out perfectly!  The doors and drawers are made out of the douglas fir we had milled from Colorado and we finished them to match the staircase.  Now we just have to do the counter tops and then we'll have an actual kitchen again.  Woo hoo!


Thursday, March 27, 2014

A post about mulch!

Mulch is a favorite topic of mine.  It does so many things for a garden - it really is a cure all for most of what ails us!  Here is a short list of the benefits of mulch in a garden:
  • Reduces weeding by smothering weed seedlings
  • Reduces watering by shading the soil to reduce evaporation
  • Keeps soil cooler in spring and warmer in fall
  • Adds organic matter to the soil as it breaks down
  • Increases soil life by providing a perfect environment for microbes and beneficial insects
  • Prevents rain splash on leaves which dramatically reduces leaf molds and diseases
  • Looks nice in the garden
  • Reduces erosion from heavy rains by dispersing the force of rain drops
So what kind of mulch should you use?  Generally, you want something that is pretty fine and that will break down in the garden within a year.  An exception to this would be mulching perennial herb beds.  A longer lasting (wood chip) mulch on those beds will work just fine. 

A word about wood chip mulch:
A wood mulch in your annual vegetable garden can also work if you are careful to pull it back at planting time.  If the wood gets mixed with the soil then it can reduce the nitrogen available to your plants and it's chunky nature can make it difficult to plant seeds.  Some sources will say that you should never put wood mulch on an annual vegetable garden because it will tie up all the nitrogen in the soil.  What research has shown is that the very top inch or so of the soil will have its nitrogen taken up by the wood as part of its decomposition.  However, deeper in the soil (where most of the plants' roots are) will not be affected.  Wood chips provide a more lasting mulch and as they decompose they provide a much wider and more balanced organic matter to the soil than the other mulch materials often used (grass clippings, hay, straw).  So, the moral of the story is that you shouldn't discount wood chips but you do have to take special care if you use them.

Ok, back to other mulches!  Most of us will end up using an easy and inexpensive mulch like grass clippings or straw.  Old hay can work well, but make sure its partially decomposed or you'll be planting a hay field in your garden.  This can happen with straw too if it wasn't harvested well.  Then you end up weeding wheat out of your garden (been there).  You want whatever it is to be reasonably finely chopped.  Grass clippings will come this way.  You can chop straw or hay by putting it in a bucket or barrel and running a string trimmer in it.  Be careful because this will make a lot of dust and little bits of stuff may come flying out!  Safety glasses are a must!

There are 2 basic categories of things that you will mulch in your garden.  The first includes the big plants - anything that you space a foot apart or more when planting qualifies.  For example: peppers, tomatoes, corn, cabbage, broccoli, cauliflower, tomatillos, cucumbers, squash and potatoes (sweet and regular).  For transplants, you'll mulch as soon as you put them in the ground.  If you're starting from seeds (i.e. corn, cucumbers, squash), you'll want to wait until the plants are several inches tall to avoid smothering them as they start.  Potatoes are an exception - they have enough energy that you can mulch them from the get go and they'll still come right on up.

The second category is the small stuff.  These are almost all started from seeds and usually have a much closer spacing.  Many of these will be planted close enough together that they will create their own mulch once they are a few weeks old.  Beans, peas, carrots and block planted lettuce all fall in this category.  If you're planting them in traditional rows, then you can mulch the sides of the rows and the aisles as soon as the plants are a few inches tall. 

The next question is how much mulch to use?  The answer is LOTS!  A light covering of mulch does almost nothing.  In order to really suppress weeds, it needs to be 6" thick or so.  Even at that, you'll have to top it off halfway through the season to maintain the moisture retaining and weed suppressing benefits.  As you can tell, this means you need a LOT of mulch material!  For some scale, in our garden in town we mulched aisles and beds with a combination of old hay/straw and grass clippings.  We went through 3 round bales of straw/hay each year (roughly 3000 lbs) plus at least a truck load of grass clippings picked up from the neighborhood.  That is for a garden with about 8,000 sq. ft. of annual vegetable growing space including aisles.  I would have used more too if I had it.

Ok, that's the skinny on mulch in your garden.  Happy gardening and keep that soil covered!

Tuesday, March 25, 2014

Timber Framing and spring gardening!

As the weather has warmed up, we've definitely gotten more active!  We've been hard at work on the cabin of late.  First, we moved all the timbers up from the hoop house to the building site.  This lets us use the nice flat, level pad as a work space and gets everything close to where it will end up.  We were very fortunate to have a friend, Jeff Bloss, come help!

Jeremy and Jeff on one of the completed timber stacks


Then we started doing the lay ups.  A lay up is where you precisely position every part of a plane of the building and then very precisely scribe all the joints where they belong.  This ensures that everything will (theoretically) fit together just right when we go to assemble it.  So far, we've gotten one of the East-West planes done and one of the North-South planes.  That leaves 8 more planes to complete.  Fortunately, only one of those needs to be done before we can get back to joinery for a while. 

One plane set and time to begin scribing


Other than requiring lots of unique steps, timber framing also requires some unique tools!  Jeremy has been hard at work making 2 custom hammers - one smaller one for chiseling and one large one (called a beetle) for "persuading" timbers into the right place.  This one is BIG!  The square in the picture is 12" on a side for some scale.

The BIG one...otherwise known as a Beetle

But wait!  That isn't all we've been doing!  We also planted about 400 onions and 3 beds of potatoes.  Our tomatoes, peppers, herbs and okra are growing nicely and getting almost ready for transplant into their own pots.  The cabbage and broccoli are doing well in their pots on the balcony despite the cold snap and we have a host of sweet potato slips growing.  It's feeling like garden season around here!

Onion starts along the fence

Tomatoes and peppers growing happily

Sweet potatoes and cabbage


Jeremy has been adding soil from the topsoil pile to some of the beds that didn't get enough last year so that they'll be ready to plant.  We've also signed up for a pilot study of biochar in garden soil.  We will have 3 different test crops (tomatoes, potatoes and cabbage) that we are planning to divide into the following test groups:  control (no additions), compost & minerals (we will add compost and a sea solids solution), biochar with compost and minerals, and a half dose of the mineral and biochar.  With these we hope to demonstrate what effect each component has on the overall growth and productivity of the plants in the beds.  We plan to post updates on here as things grow, so keep your fingers crossed that we manage to keep track of this while building a house this summer!

We have some joyous and some sad news to share.  First the good news!  Our future goat, Peaches, gave birth to 3 beautiful daughters about a week ago.  The girls are healthy and active and positively adorable!  The bad news is that Peaches did not survive the process.  Triplets are really hard on a goat (twins are the norm), especially a yearling, and these 3 were all tied up on the way out.  She survived long enough to provide colostrum for the babies and then passed.  She was a very sweet animal and we will think of her every time we look at her wonderful daughters.


Peaches' three daughters curled up for a nap

The last thing going on right now is that we will have to recover our hoop house in the very near future.  For those of you that don't know, we had 2 large rips in the white plastic cover show up last October requiring a midnight recover of the hoop house with the old plastic we took off of it at its old home.  Luckily we kept the plastic or everything in the hoop house would have been ruined.  Sadly, the old plastic is...well...old, and isn't going to last much longer.  We have been trying to nurse it along until warmer weather, but its about done.  After repairing with duck tape, gaffers tape, epoxy and super glue, we have resorted to this contraption to hold it in place for a few more days.

Epoxy and strapping...not a long term solution!

This means that one of the days this weekend will be spent covering the greenhouse again.  Luckily, we have new plastic on hand so hopefully it will all go much more smoothly than last time!  If nothing else, we've had some practice.

Ok, I think that catches us up!  Hope you're enjoying your spring!

Sunday, April 21, 2013

Building the garden - the fast way!

This weekend we rented a skid steer to finally get all the dirt for the garden beds moved.  It took about 4 hours of running the machine to move the 40ish cubic yards of dirt that make up the rest of the garden beds, but we did it!  While I ran the skid steer, Jeremy and the kids raked and shoveled the piles of dirt I dropped into reasonable beds.  Unfortunately, there's just no way they could keep up with the machine, so only about half the garden is in its final form.  Here are some pics to show you where it sits for now.
The end that got raked into beds along with the beds we already made
The end that hasn't been raked yet - there's some more work to do here.
 
Sunday, we went to Baldwin to help Scott move some stuff and to dig up his asparagus bed (he didn't want the plants).  I dug asparagus while Jeremy helped him move.  We ended up with about a dozen plants for our efforts, some of which were very nice sized.

Digging asparagus in Baldwin

Later Sunday, we had 2 friends who are photographers come out to take family pictures outside at the farm with Scott and Elexys.  We enjoyed a couple of hours walking around and getting cool, informal pictures all over.  It was a nice reminder that the farm has some very beautiful and relaxing places...we should take more walks. 

Lisa Marie and Christian with Jeremy
 
After pictures, we planted the asparagus crowns and then went out for a fun dinner together.  It was a nice end to a busy day.

Planting asparagus in our picture clothes - who else does this stuff?


Saturday, April 6, 2013

Asparagus and Blackberries

For some minor catch up, Jeremy spent time this week finishing off the poles for the garden fence.  He did some very nice chainsaw work to notch some neat arches over the future gates and he put in solid braces at all the corners and gate posts.  We'll be ready to string wire soon!

Today was another glorious spring day and we spent it moving our blackberries and some of the asparagus out to the farm.  The aparagus was quite the chore.  After digging for over 2 hours, I finally had to admit defeat.  Prying one of these 7 year old crowns out of the asparagus bed needed someone with more weight on the shovel!  The kids and I switched our attention to the blackberry canes growing in our front yard.  It only took a little while to dig them up.  Between those and the ones that we started from cuttings last year, we ended up with 23 plants!

Shortly after digging the blackberries, my brother came by.  He graciously offered to help pry the 2 asparagus crowns I'd been working on out of the ground and we had them in a tub for transplanting in a jiffy.  When Jeremy came home, we made short work of the other 2 crowns in that row.

Then we loaded all the asparagus starts in the greenhouse, the ones we'd dug up and all the blackberries up into the Ford to take to the farm.  It was a bed full of plants!  The asparagus went in first.  We alternated small starts from the greenhouse with the larger mature crowns.  In total, we had 16 asparagus plants. 

The mass of roots in the middle of the hole is one of the mature crowns being planted.
 
Planting asparagus - you can see the green fronds of the greenhouse grown asparagus in the foreground - they're about a month ahead of the others.
 
Next, we turned our attention to the blackberries.  These will be growing along the west fence around the garden to form a living screen from the road.  We started by loosening the soil in a line where the fence will be.  Next, we added a top dressing of topsoil from the soil mountain and last, we planted the blackberries.  The 23 plants will quadruple the number we had in town if they all survive.  I can't wait!

Jeremy breaking up the row while I planted blackberries.
 
 
Watering in the blackberries.  Check out the future gate!
 
There was lots of watering in to do with the 3 vegetable beds, the entire bed in front of the greenhouse and the blackberry row.  I suspect we will be spending quality time with the garden hose over the next several months.

On another positive note, it looks like all but 2 of our fruit trees survived the winter.  Several are already budding out!  I'm so excited to have those trees already planted and growing.  In another year or two, we'll have our own fruit!

Stay tuned - the warmer weather means much will be happening!


Monday, April 1, 2013

Potatoes and onions are in!

For those in Kansas, you know that we had one of the most beautiful spring weekends we’ve seen in quite a while this past weekend.  We celebrated by spending all day Sunday at the farm working on the garden.  First though, here is a picture of the swales we created a couple of weeks ago:
3 swales on contour


The kids and I (Jeremy was at work) started the day by marking out 3 new beds to build.  These are 4’x20’ garden beds.  Then we started hauling dirt up from the dirt mountain to create the raised bed.  Have I mentioned how in love I am with this soil?  It’s wonderful, black, crumbly stuff – a gardener’s dream.  In the picture below, you can see where we’ve started the first of the 3 beds.
3 beds laid out, dirt started for first one.  You can see the kids loading the next wheel barrow in the background.
We planted almost all of these plus 70 seed potatoes!


Naturally, the batteries in the camera died after this picture, so I don’t have pictures of the rest of what we did…

Once the first bed was created, we planted about 80 cabbage and broccoli plants and covered them with an insect barrier.  We’ve found that it’s the only way to keep the cabbage worms off of the plants so that we get a reasonable harvest.  We still have more cabbage and cauliflower to plant, but that will have to wait until we can get more insect barrier.

The second bed was planted with about 400 onions.  We still have leeks to plant, but otherwise all the onions are in for this year.  The third bed got 40 hills of potatoes with the remainder of our onions planted on the borders.  We have another 30 hills of potatoes planted in the bed in front of the hoop house.

With a little luck and some good weather, we’ll be back at the farm this week to work on the fence and build another bed to hold the rest of the cabbage/cauliflower and the leeks.  We need to get the fence up as soon as possible because we noticed deer tracks all over the fresh soil around the garden.  We also had our neighbor’s chickens and ducks with us for most of the day and prior experience says that when tasty little things start shooting up from the ground, they will get eaten.  Must get the fence done.  Quickly.  On the upside, there is very little in life that is more entertaining than watching chickens be chickens and the intermittent serenade of quacks from the ducks was nice.

Speaking of neighbors, when we got in the truck to go back home it wouldn’t start.  Didn’t even try to turn over.  Since the camera whose batteries died was my phone, we were basically stranded with no way to call anyone.  The only thing left to do was go next door and see if they could help.  Our truly amazing neighbor, Don Spradling, didn’t even hesitate.  He brought his truck over to try jumping ours and when that didn’t work, he started checking other things.  He discovered that we had a bad starter relay.  Luckily there are 3 identical relays in the box, so he switched it for another one and the truck started right up.  Thank God for good neighbors!  Needless to say, a new relay was purchased and installed this morning.  If Don hadn’t been there and known enough to check and swap the relays, we would have had to call a tow truck and pay a mechanic to find out that we needed a $15 relay.  We really can’t say thank you enough. 


Wednesday, August 1, 2012

Garden Lesson - wk of 7/23

Some of you may be aware that I help organize a garden for the Ronald McDonald Houes in KC, MO.  Part of my duties is writing the weekly newsletter.  Each week, I've been including a "garden lesson" on some topic in organic gardening and I thought I would start posting them here in case its helpful to anyone else.  If you see something I've written that you disagree with, please feel free to call me out on it.  I write based on my own experience and knowledge and I am far from an expert! 

Here are the last few weeks of updates.  From now on I'll post them as I publish the newsletter on Thursdays (usually).

Garden Lesson wk of 7/23:

How do I improve clay soil? We are blessed at Crown Gardens to have the Missouri Organics soil in our raised beds. It is a wonderful mix of compost and topsoil that is just magic for plants. But what if that isn’t what you have? What if you’re growing on solid clay? Take heart – you can still grow healthy plants and lots of food! There are several ways to improve clay soils. This week we will talk about the lasagna method (my personal favorite).

Identify where you want your garden beds to be and where the aisles will be. If your beds will have sides, build the boxes and place them on the ground. In the beds, lay down a thick layer of newspaper or cardboard (remove any tape or staples) to prevent weeds and grass from growing up into the bed. Next, s...
pread 4-6” of grass clippings/old hay/old straw on the paper. Then add 1-2” of compost or manure. Repeat the grass/compost layers 1 more time with a little extra compost/manure on the top layer. Ideally, you would do this in the fall and let the materials sit over the winter. You can plant directly into the soil on top without waiting though. Over the first year, the green material will break down and leave rich bed of topsoil. Each fall, add another layer of green matter (grass clippings or similar) and then add 1” of compost in the spring. Over time, the earthworms will work this rich soil down into the subsoil and you will find the clay to be looser. It takes about 5 years for the natural process to turn the top 6-8 inches of clay into clay-loam. In the meantime, your plants will love the top layers you’ve built up and will produce delicious food for you!

Saturday, July 28, 2012

Building a retaining wall/garden bed

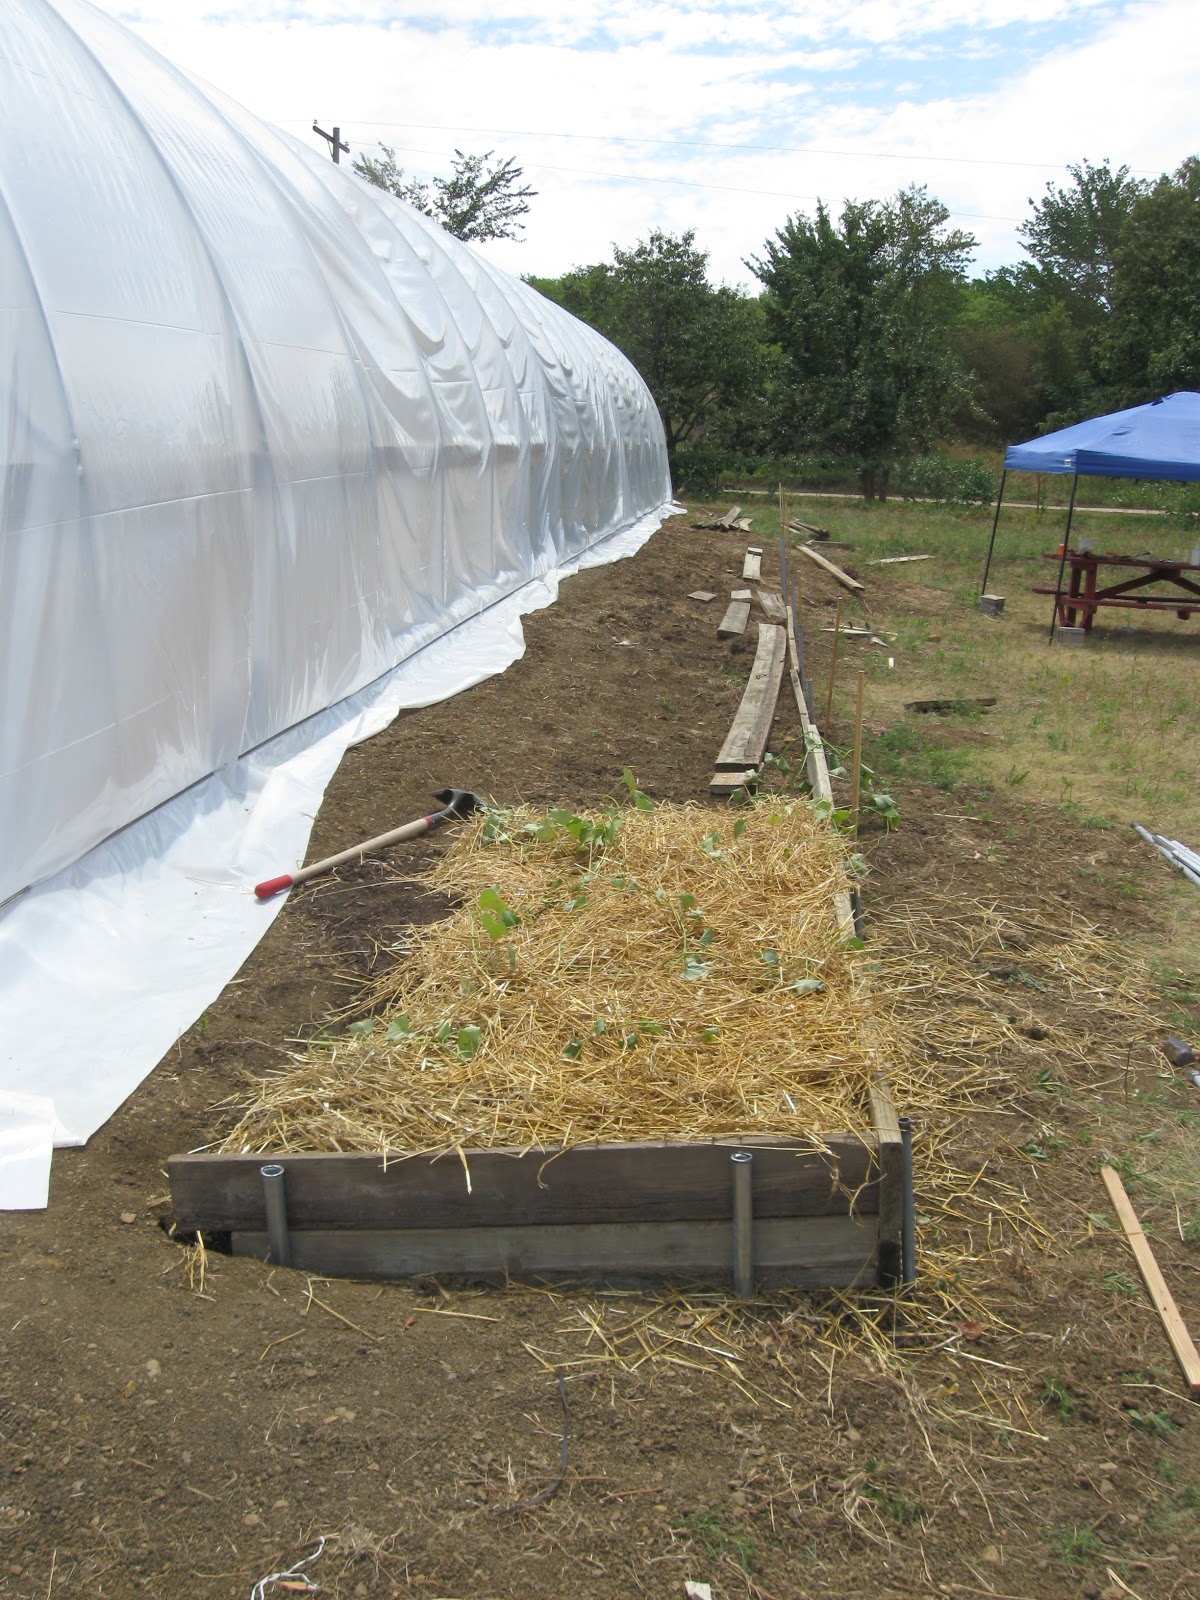
We began construction today on the retaining wall/planting bed on the West (downhill) side of the greenhouse.  It will eventually be a 92 foot long planting bed (equivalent to 4.5 of our beds in the old garden) with a stone staircase in the middle and an access path next to the greenhouse.

We began by driving wooden stakes 7' from the edge of the greenhouse (3' of aisle plus 4' of planting bed) so that we could visualize where the wall would go.  Next, we started laying out the boards.  We are re-using boards we salvaged when we disassembled the greenhouses.  Eventually, (and hopefully) the wooden wall will be replaced by a stone wall.  For now, we're using what we have!

Driving in the metal pipe pieces - bottom boards are set and leveled.

Each board had to be leveled.  We started at the North end of the greenhouse and leveled the front wall to be even with the ground at the edge of the greenhouse.  As we worked toward the middle of the hoop house, we had to dig down and add boards to follow the slope of the hill.  Each board was leveled.  In the middle of the wall, we are setting aside 4' to put in a staircase using stone we have yet to bring up from Peggy's house (check out previous post on foundations falling from the sky).  For today, we worked on the north wall up to the staircase.

Once we had all the boards measured, cut and leveled, we cut several pieces of pipe to use as braces.  They ranged from 30" to 6 feet depending on the slope.  Each pole was driven in at least half its length in order to hold back the weight of the soil that will be behind this wall.  Then we started setting the bottom boards and pushing dirt in behind to hold them in place.

Once the bottom boards were in, we started laying up the rest of the cut boards.  To hold them, we have to back fill as we go.  We didn't quite get all that done, so there is still a lot of dirt to move from the pile into this bed. 
Aaron is working on the corner.  Boards have all been cut and are laid next to where they will be.

We did get the corner filled in and we decided to plant some of our volunteer sweet potato slips.   Yeah more food growing on the farm!  Eventually, this bed will house our asparagus and perhaps some more perennial plants.  We would prefer to have things growing here that will always have roots to help hold the soil.


Sweet potatoes!

A view of where we are - lots of backfilling yet to do and the south side hasn't been started.

Monday, June 25, 2012

Leveling for the greenhouse

The pad is level!!!!  Now that I've answered your first question, here's how it happened...

Friday evening, we hitched the plow up to the tractor for the first time to besure we had all the right hardware to make it work (we did).  The plan was to use the plow to break up the soil so that we could use the box blade to level teh site for the first greenhouse.  We were planning on this taking all day on Saturday and likely some time on Sunday.

Once the plow was attached, we couldn't resist trying it out, so Jeremy drove over to the staked out site of the greenhouse and started plowing.  We quickly discovered that we had the plow set too dep when the tractor started bucking like a bronco - funny to those watching, not so funny to the guy riding the tractor.  Once that was fixed the plow worked like a dream.  The earth turned over in 2 neat rows behind the tractor; loose, dark and rich.

We plowed the first layer to be moved before proceeding to the RV to make camp for the night.  When we got to the RV, we had an unfortunate surprise.  Either we forgot to unhook the battery before we left or someone hooked it up while we were gone resulting in the battery being completely drained.  This meant that not only was the battery ruined, but we couldn't open the slide out on the RV.  Big frowny face here.

Nevertheless, we made camp, had some dinner and passed out for the evening.  It was a great night - gentle cool breeze and the sounds of the country.

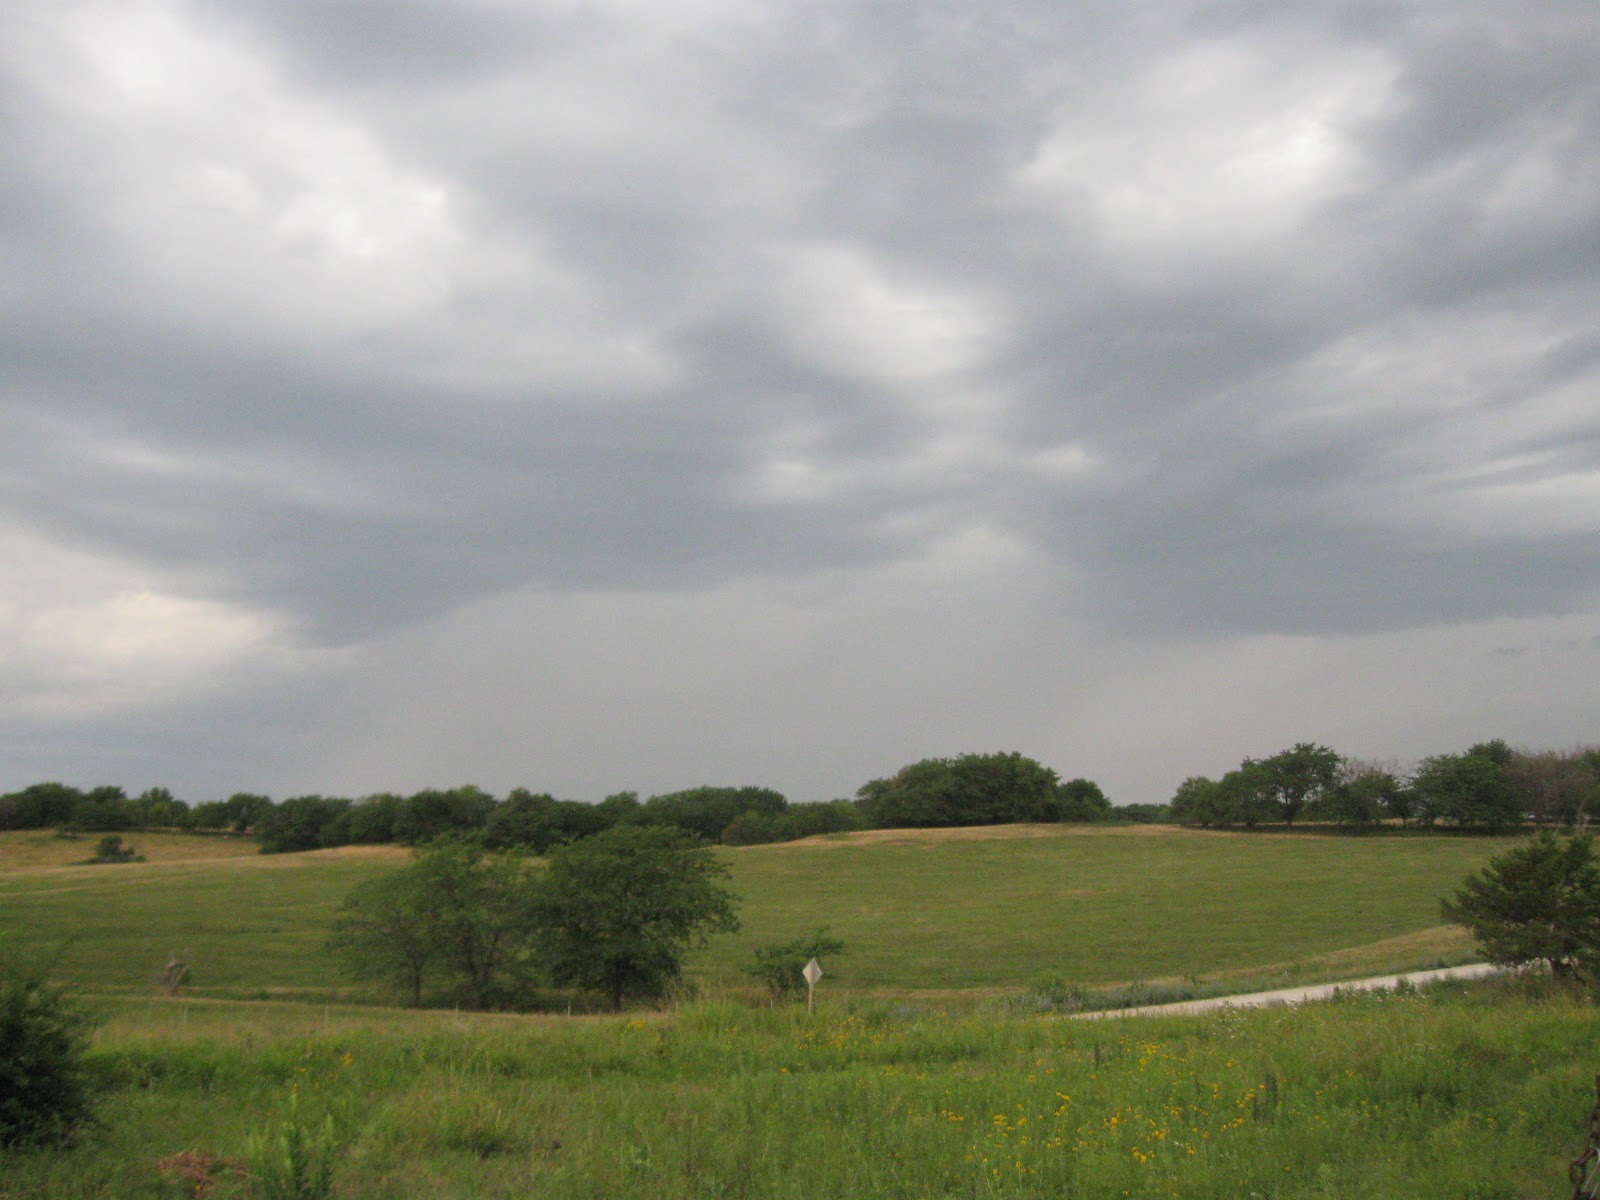
First thing Saturday morning (and I mean first thing - we were up and around at 6:00), we were back at it.  We were hurried along by some very ominous looking storm clouds complete with thunder and lightning.  We would celebrate the rain, but we also wanted to get this job done!

The combination of plow and box blade worked fantastically well.  It took about 5-6 hours on the tractor to get the stie leveled with several rounds fo swapping between the 2 implements.  We learned several key things during this effort including:

- How not to kill the tractor when it bogs down
-That our soil is AWESOME for the top 4-6 inches
- That we need a stronger block to hold up the box blade (see picture)

We had a lot of fun Saturday too.  Friends of ours, Jessi Asmussen and Kevin Prather, and their little boy Elliot visited in teh morning and we all took a walk around the farm.  It was wonderful to spend time together!

The kids and I got to be weights on the box blade to help it dig in a little deeper which was fun.  The kids particularly enjoyed this job.

While Jeremy ran the tractor, I set up a new, larger pen for the goats.  We're upgrading them to a 16'x32' pen so that we won't have to move them as often and so that they'll have mor eroom to run around.  Setting T posts is a really good shoulder workout, in case you're wondering!

We finished up about 6:00 PM, broke camp and we were home about 7:00.  We were all hot, sweaty and glad to have the job done!


Sunday, we went to the pool (in case you're thinking we really do just work all the time).  Ahhhhhh.

Tuesday, May 8, 2012

You’re moving the dirt?

This is the question we have been asked by complete strangers and close family members over the last week.  Yes, we’re moving the dirt.  All of it.  Mostly by hand. 

We’ve spent the last 5 years building soil – the kind of rich, loose, humus rich soil that gardeners dream of.  It is so much more than “dirt”.  It is rich in microbes, bacteria, and countless other critters that convert the organic matter into food for our plants.  It is the magic ingredient that makes our organic garden work.  The soil life grows healthy plants that can shrug off most diseases and the various micro fauna that live there attract the birds that take care of our insect pests.  It is what lets us not till, not spray and not worry about it.  The permaculture ecosystem that we want to build on the farm will be built on this kind of soil and it cannot exist without it.  Given that we are planting grass here that does not require anything like this (which is why it survives when people poison the soil multiple times a year in the name of fertilizer, weed killers and grub killers), the question for us is “Why wouldn’t you move the soil?” 

So now that we’ve looked at the why, let’s see how much soil we’re really talking about here.  Over the course of the last week, we’ve moved somewhere around 37 cubic yards or 20 truck bed loads of soil up to the farm.  For a visual, that looks like a pile that is about 5 feet tall, 8 feet wide and about 20 feet long plus a raised bed that is about 5 feet wide and about 40 feet long.  Now, we didn’t do it by the truck load exactly.  We have been fortunate enough to borrow a bobcat from a friend of a friend and we rented a heavy equipment trailer for the week.  Using the bobcat to load the big trailer, plus our Ford F150 plus a smaller trailer meant that we moved all that soil in only 8 trips.  While I feel very fortunate to have had the bobcat to load the vehicles, we have unloaded everything by hand.  That is several thousand shovel fulls of dirt and our arms felt every one of them.

We’ve also been moving plants as we go.  This is another one of those things that people ask about – “you’re moving ALL the plants?  Why?”  Again, it comes down to the accumulated biodiversity we’ve built where we are.  We have plants that fill so many niches in an ecosystem and that serve so many different purposes that to leave them behind would set us back 3-5 years in establishing our garden on the farm.  By comparison, the time spent digging, potting, moving and replanting seems pretty trivial.  Besides, its fun to figure out where the plants will go and to start building a new garden.  There is now a little corner of the farm (the southwest corner to be precise) that looks a bit like home.  It has currants, daisies, daylilies, irises, plums, horseradish, gooseberries, and rhubarb.  I’m probably forgetting a few others too.  Several of our dwarf fruit trees are planted along the edge of the bed as well – both apples, both pears and both peaches.  The cherries are next.  From this small beginning, we hope to turn the entire lower field (about 3 acres) into a permaculture food forest that produces all the food our family wants to eat with a surplus to share.  One day it will be that.  For now, it’s just a little corner raised bed with some plants in it.

We still have a lot to move.  There will be at least 3 more truckloads of dirt to relocate – this time by hand on both ends.  There are 2 large compost piles to move which will make at least 2 more truck loads, maybe more.  We have several dozen plants yet to dig and replant along with the 100 strawberry plants, 400 onion plants, and several dozen grapes and blackberries that are potted up and waiting in the greenhouse.  While that sounds like a lot, it’s less than we normally put out in our garden, so it feels very doable.  Once all that is done, we will level the yard here and put in some form of grass (seed or sod – yet to be decided). 

While it is very sad to me to have our house revert to a standard American yard again, the fact that we have a 2-5 year head start over where we started here makes it much easier to accept.  We are, after all, taking the most important part with us – the dirt!